 backstage color
DJI D-Log M: convert to Rec.709 and get a cinematic look
D-Log M keeps the sky and the shadows, but the image looks grey. DJI's official LUT brings back normal colors; your look comes next.
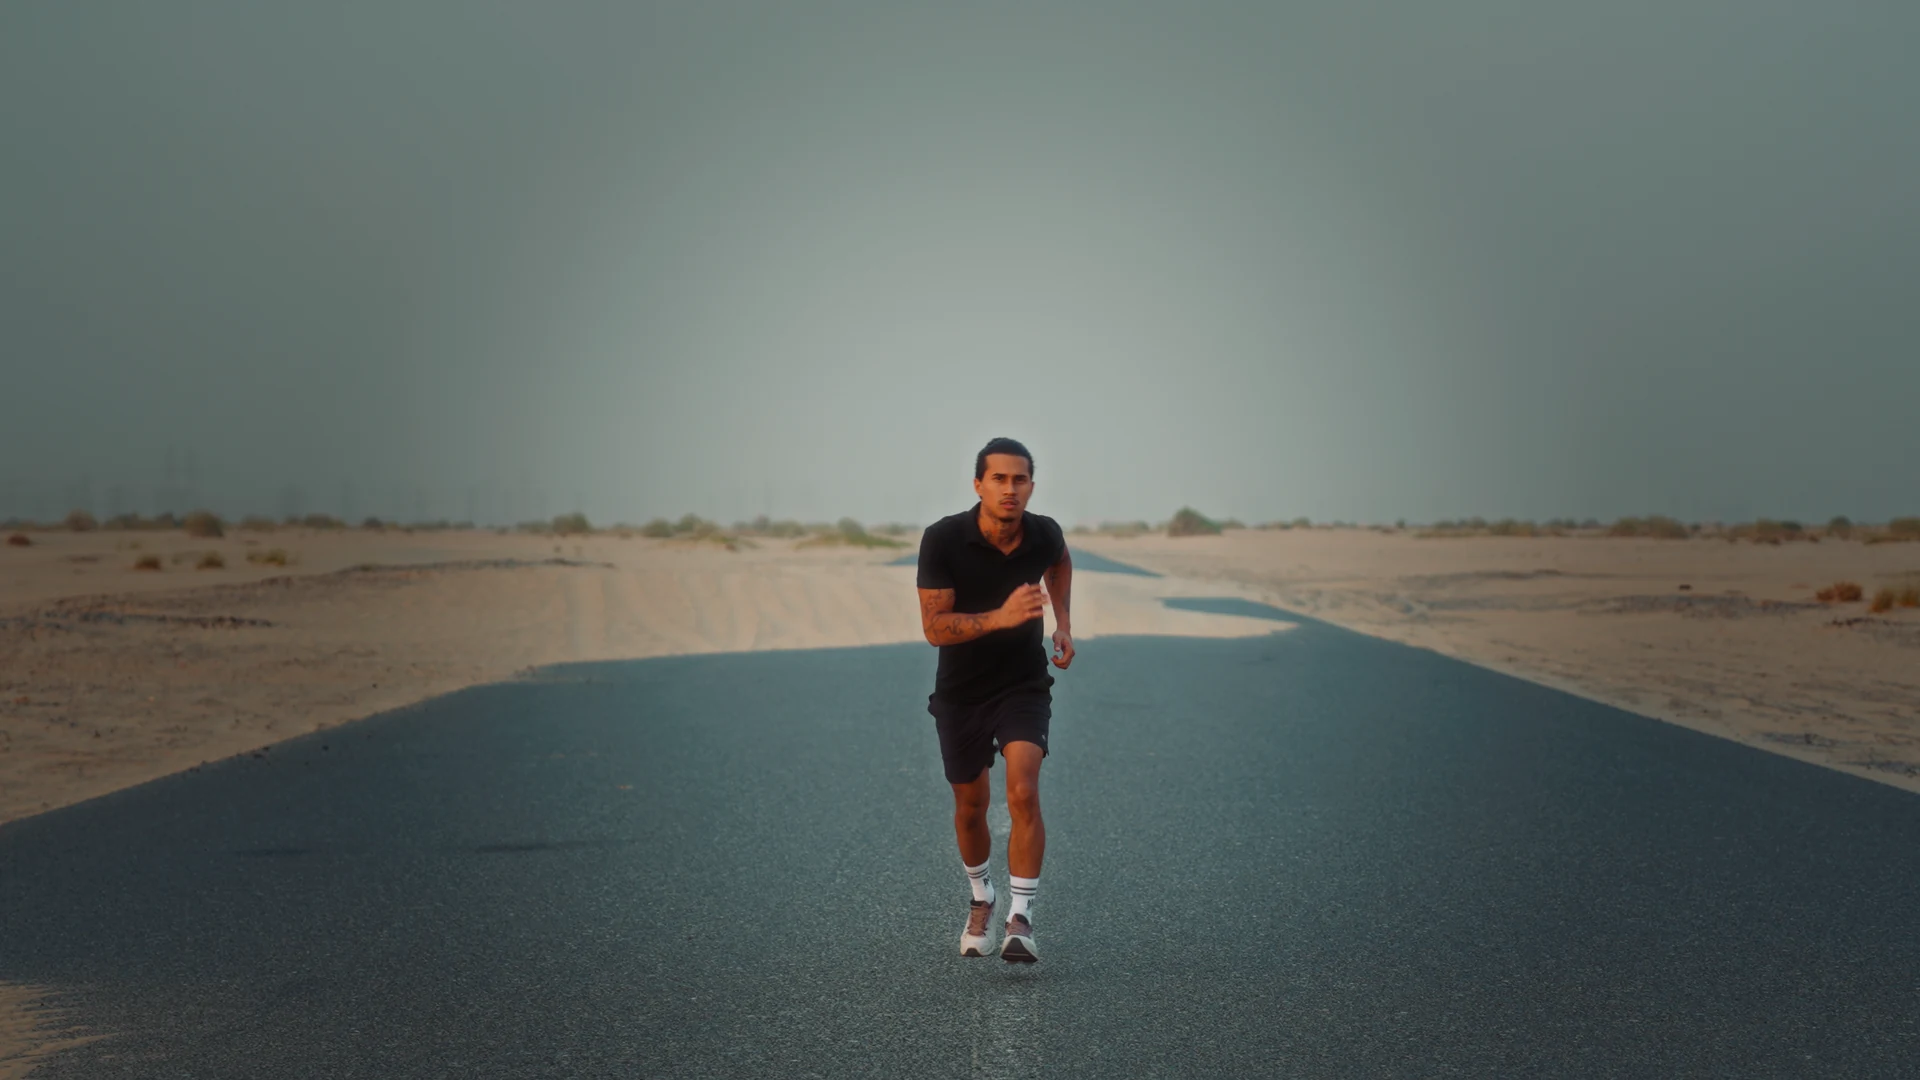
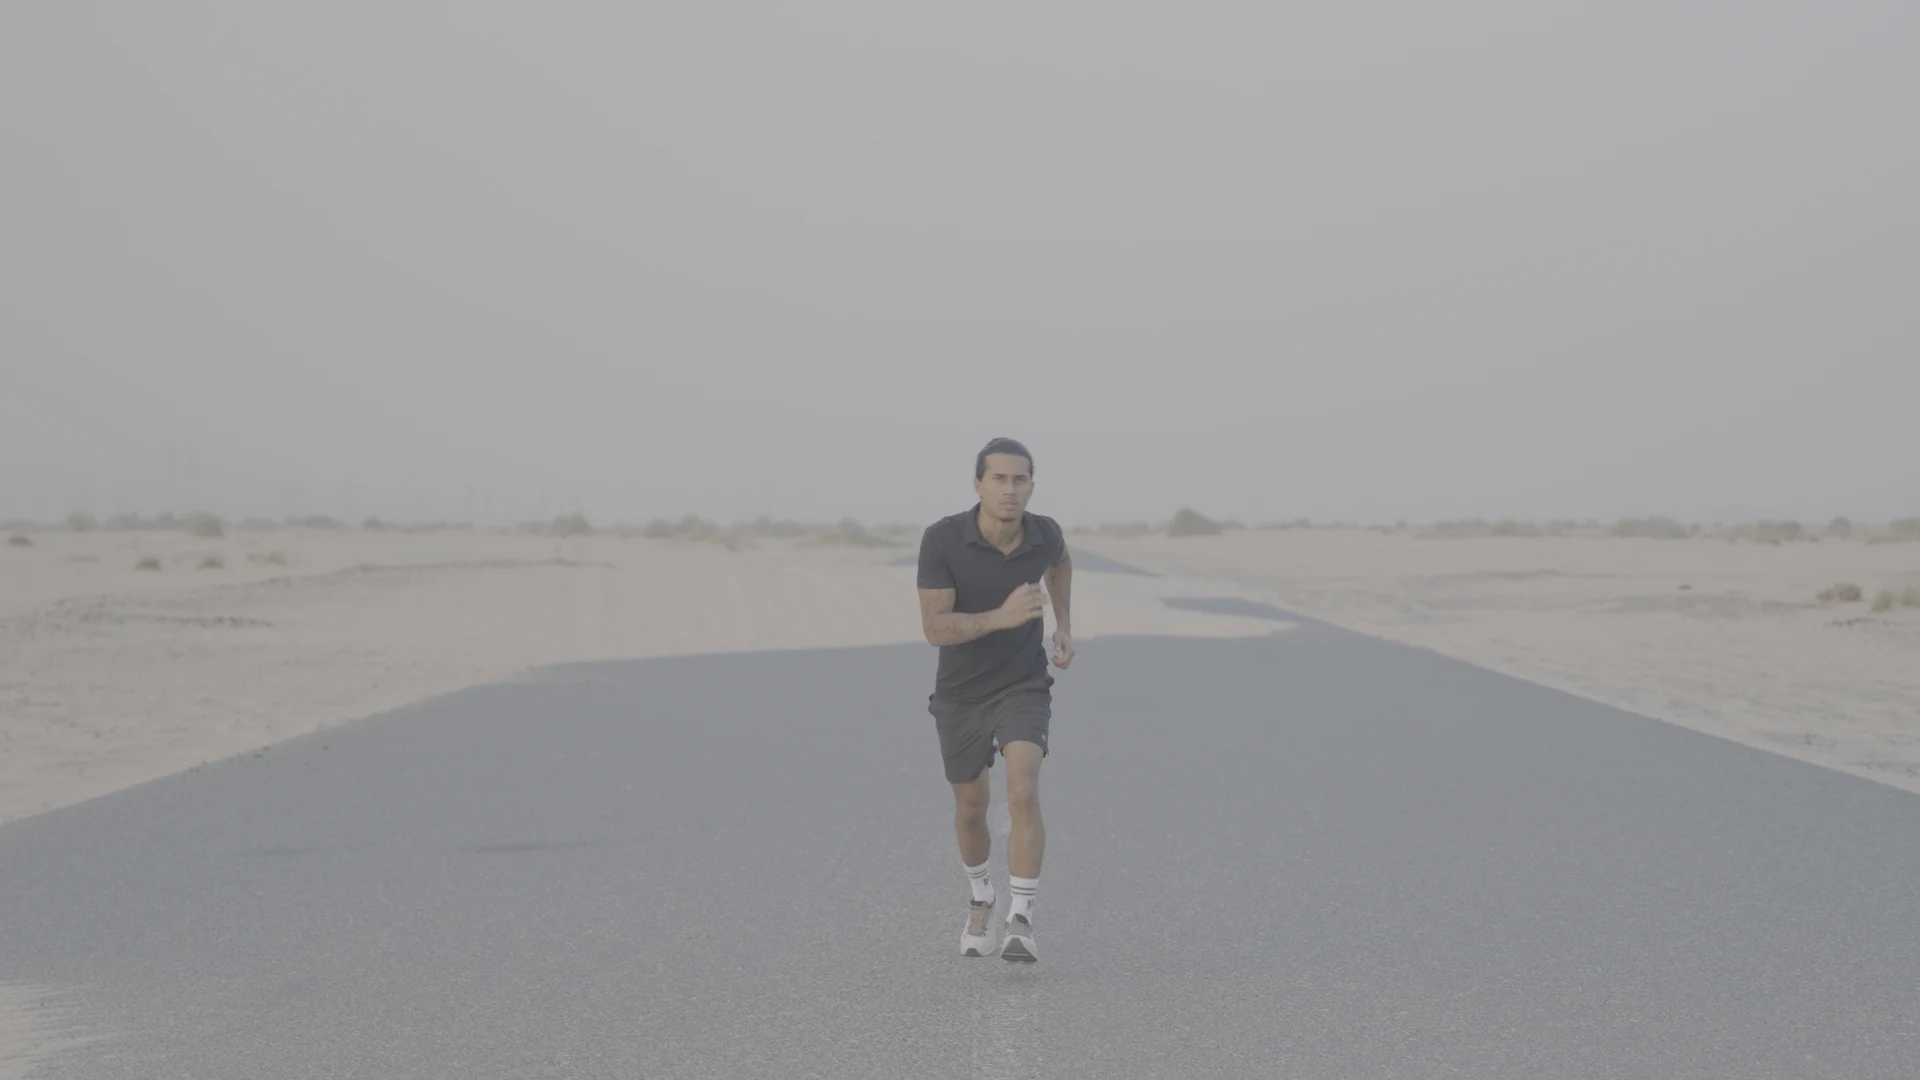 BeforeAfter
Why D-Log M looks grey
D-Log M records light in a very flat way to keep detail in a bright sky and in the shadows at the same time. That gives you room when grading, but the image has to be converted before it looks good.
1. Download DJI's official LUT
On dji.com, open the Downloads page for your exact model (Mini, Air, Avata, Osmo Pocket, Osmo Action…). For models that shoot D-Log M, DJI offers a "D-Log M to Rec.709" LUT there.
2. Where to apply it
- CapCut (desktop): Adjustment › LUT › Import, then apply it to the clip.
- Premiere Pro: Lumetri Color › Basic Correction › Input LUT.
- Final Cut Pro: Info inspector › Camera LUT › Add Custom Camera LUT, then pick the DJI LUT. The "DJI D-Log" LUT built into Final Cut Pro is the Mavic 3 one, not D-Log M.
- DaVinci Resolve: the DJI LUT on the first node.
- Color Studio: pick the DJI D-Log M camera profile in your project.
3. Add your look
Once in Rec.709, fix exposure and white balance, then add your creative LUT on top, on an adjustment layer if your app has one, to keep the same look across the edit.
Don't want to grade? Shoot in the normal color mode: the image comes out with contrast already. D-Log M is worth it in strong light, with a bright sky and deep shadows.
Editing on your phone? Read How to use a LUT on iPhone video: the apps that take .cube files work with your DJI clips too.